3D 4x6 Frame
Create your own 3D 4×6 shadow box frame with a faux woodgrain overlay, perfect for adding dimensional paper cut items for a fun decorative piece.
3D 4×6 Frame digital die cut file is available for sale in the Silhouette Design Store online HERE.

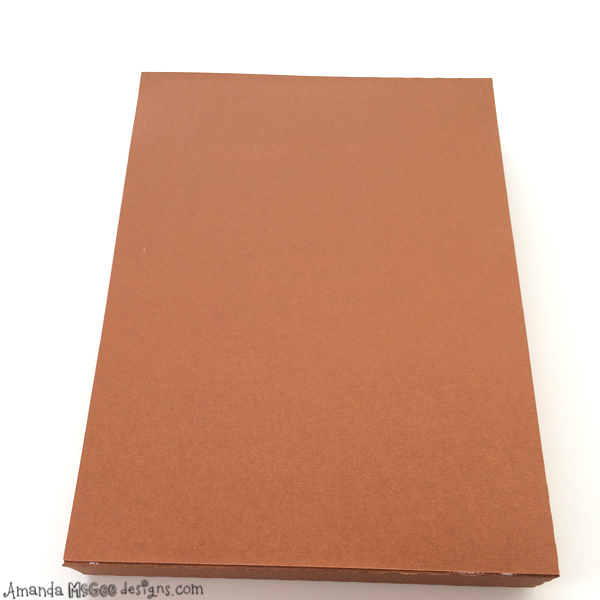
This digital die cut template makes it easy to create your own cardstock 3D shadow box frame, just the perfect size for a 4×6 photo or digital die cut paper elements. You will need the following supplies to create this project:
Silhouette Cameo
Heavyweight cardstock paper (I’ve used American Craft’s Autumn and Bazill)
Glue (I’ve used Scotch Brand Quick Dry Adhesive)

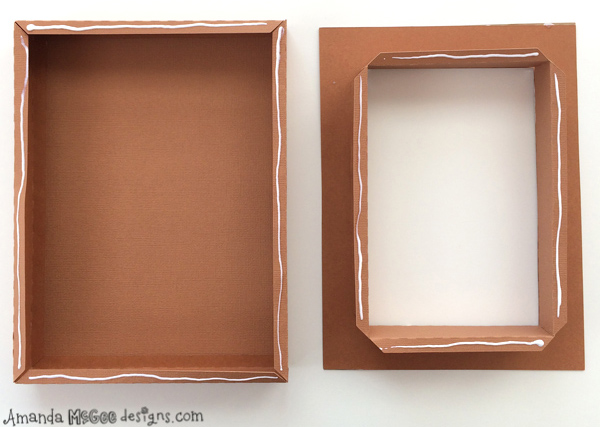
Step 1
Begin by cutting template pieces from desired cardstock. Fold along all score lines as shown.

STEP 2
To create the outer portion of the frame, add glue to side tabs and adhere to to edge of another section, alternating one long section with one shorter section.

STEP 3
Fold to create the rectangular shape and adhere the last tab to the inside.

STEP 4
Repeat a similar process to create the inside of the frame. However, the tabs will be folded up.

STEP 5
For the last tab, glue to the outside of the inner frame, folding to create the rectangle shape as shown.

STEP 6
Add glue to the reverse side of the faux woodgrain overlay. Be sure to use glue that will dry clear as it is a bit difficult and messy!

STEP 7
Lay the faux woodgrain over the frame piece.

STEP 8
Add glue to the tabs on one side of the outer frame.
STEP 9
Place the back piece onto the glued tabs.

STEP 10
Add glue to one side of the inner frame tabs.

STEP 11
Place top of frame onto the glued tabs.
STEP 12
Add glue to the tabs on the bottom section and glue to the tabs on the top section.

STEP 13
Place top of frame on to the bottom section of frame, adjust to fit and allow the glue to dry.
STEP 14
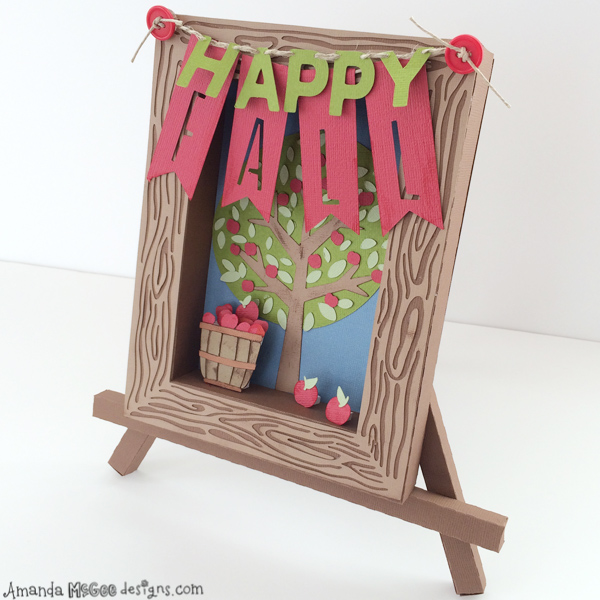
Once the glue is dry, the shadow box frame is complete. The inside should fit a 4×6 photo or you could add digital die cut paper accents as I have done in the sample shown. I’ve used the 3D Easel to display a fun Fall themed shadow box. You can find the digital die cut templates to complete this project for sale in the Silhouette Design Store online. I used twine to string the letters and glue dots to hold the buttons to the frame. I’ve used dimensional foam squares on the apples and bushel basket to create depth within the shadow box.
Enjoy and Happy Crafting, friends!
:) Amanda