3D macaron box instructions
Create your own paper 3D macaron box from cardstock, perfect for several small size cookies or other sweet treats!
The digital die cut file used for this project is available for sale in the Silhouette America Online Store.
This digital die cut template makes it fun to create your own 3D macaron box. After experiencing the delight of macarons in Paris, I was inspired to create this sweet little box. Since our visit to France, my daughter has been baking macarons and I thought this would be a fun box to put them in to share with friends. Please note that this box template is for decorative use! I would recommend that you wrap your cookies or other food items in food safe plastic before presenting in the finished box. Finished size is approximately 2 3/4 x 6 inches. You will need the following supplies to create this project:
Digital Die cutting machine (I’ve used my Silhouette Cameo)
2 sheets of 12×12 heavyweight cardstock paper (I’ve used DCWV The Shimmer Stack Cardstock)
1 sheet of plastic (I’ve used a plastic report cover)
Adhesive

step 1
Begin by cutting template pieces from desired cardstock and plastic.

STEP 2
Fold up all the edges along perforated lines. Add adhesive along the inside edges of the top.

step 3
Place plastic on top of the adhesive (on the inside of the lid.) Speaking from experience, I recommend tape runner style adhesive rather than glue. Liquid glue can get all over the plastic and ruin the shiny finish!
STEP 4
Fold in side tabs, add glue and fold up side to adhere. Repeat for the other side.
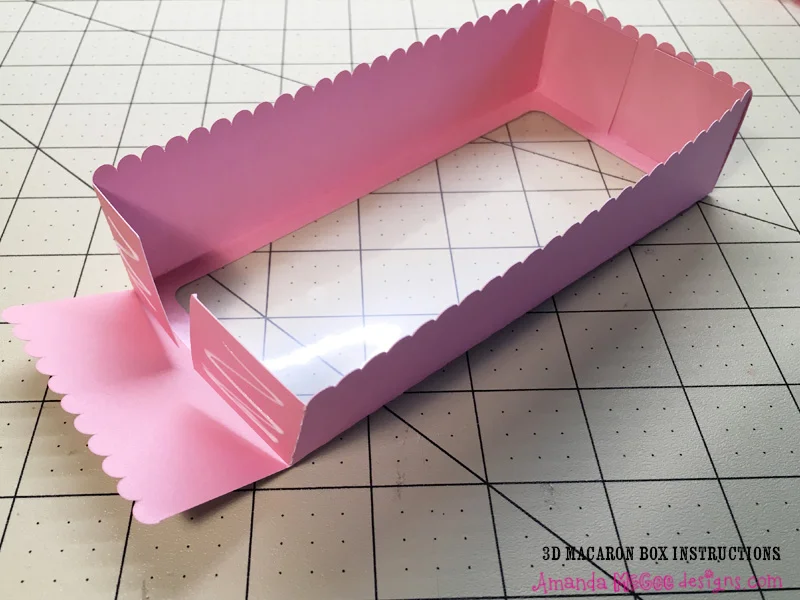
STEP 5
For the base, fold up all perforations as shown.
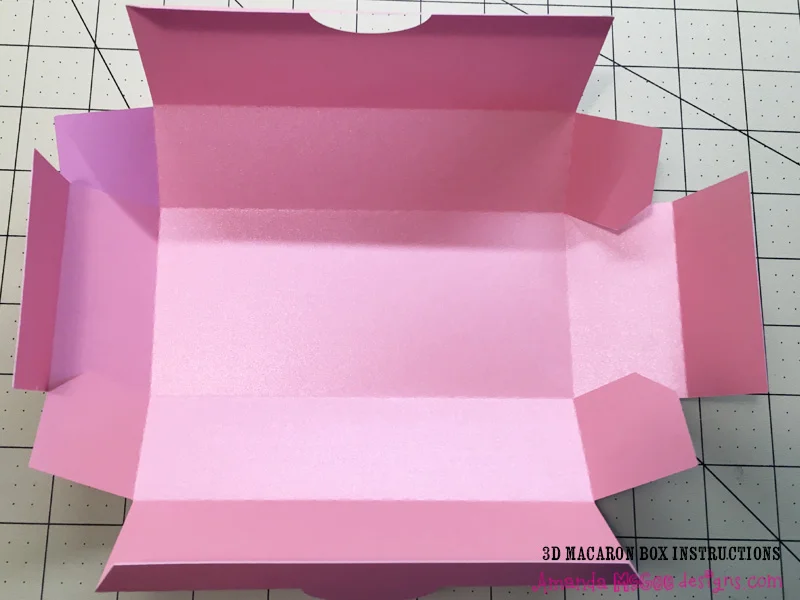
STEP 6
Fold in the side tabs, and then fold over the edge. Repeat for the other side.
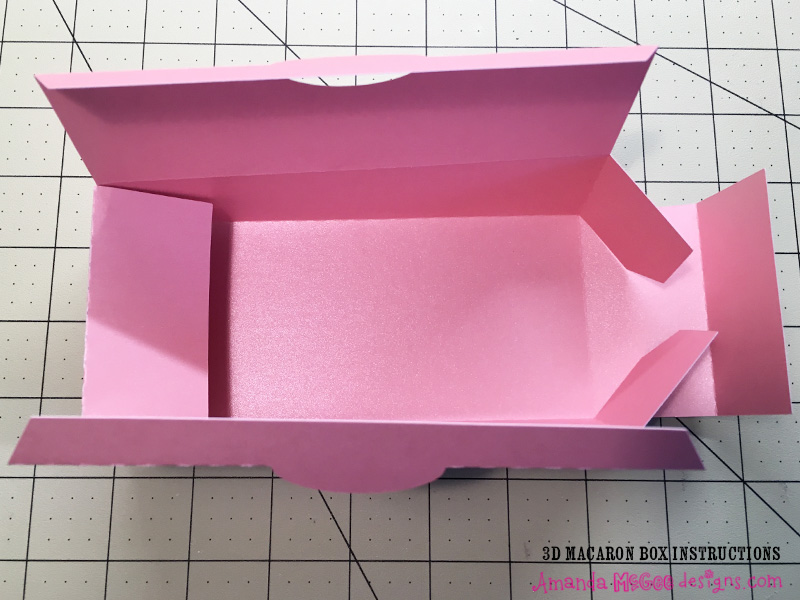
STEP 7
Fold down the side tab, fold into the box and tuck in to create the angled sides. Repeat for the other side.
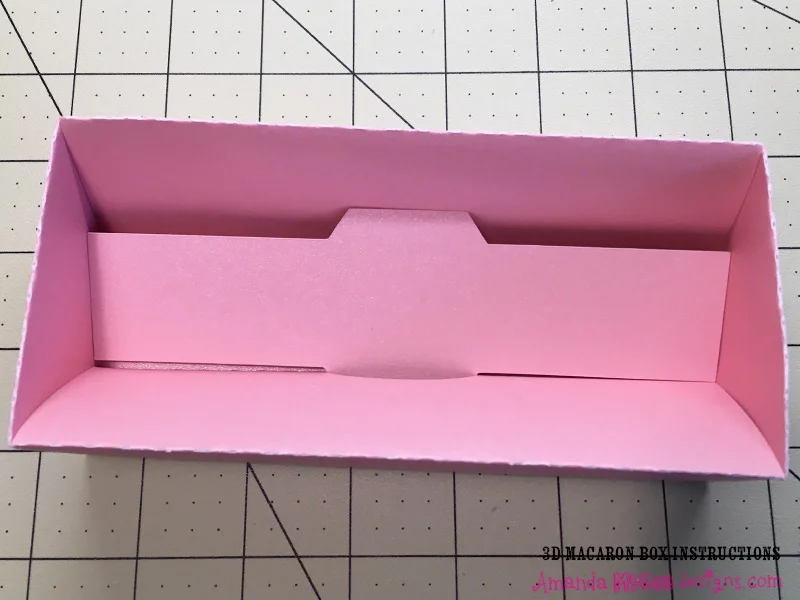
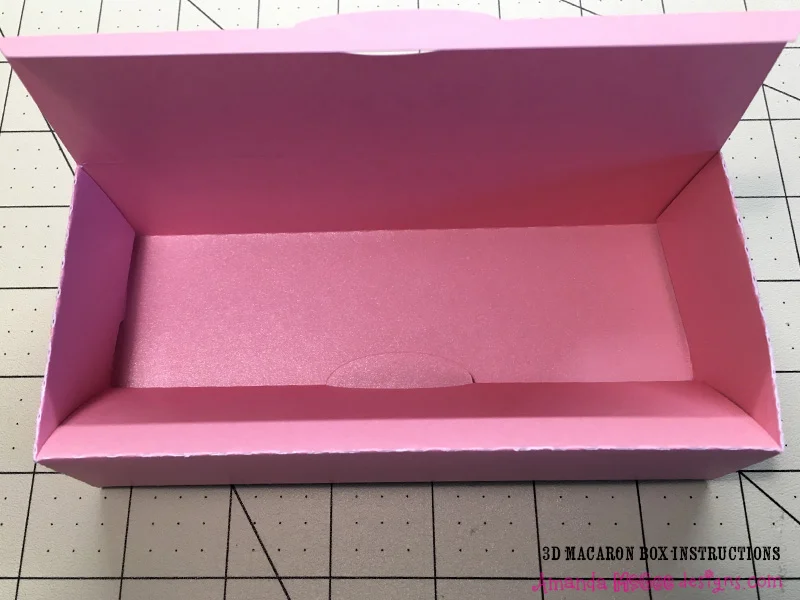
STEP 8
Tuck in the bottom insert as shown. If you are using a pattern paper with a white backing, put the pattern or colored side up.
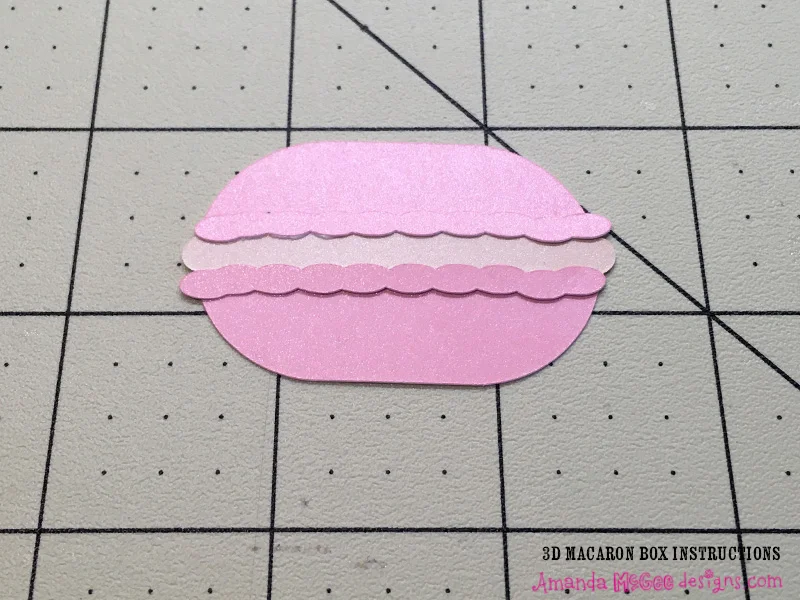
STEP 9
Assemble the macaron as shown.
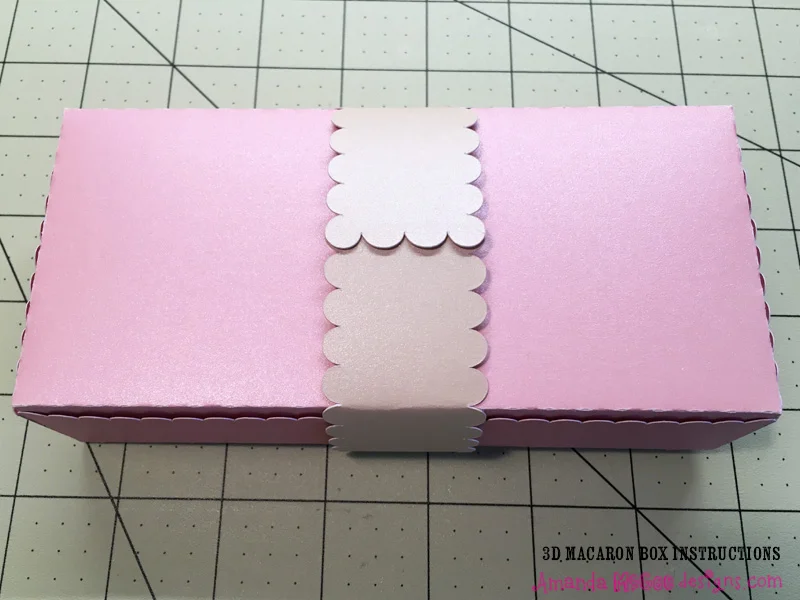
STEP 10
Wrap the scallop edge trim around the box. Adhere the edges with adhesive.

STEP 10
Attach the macaron accent to the top of the box.
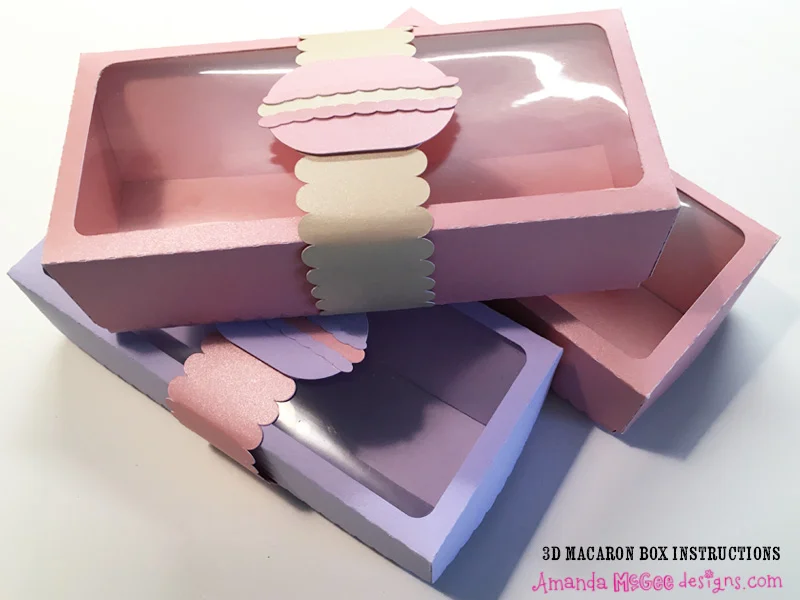
project complete!
These would make a fun party favor! Now if I can just get someone to fill these boxes with delicious macarons!
Enjoy and happy creating!
:) Amanda