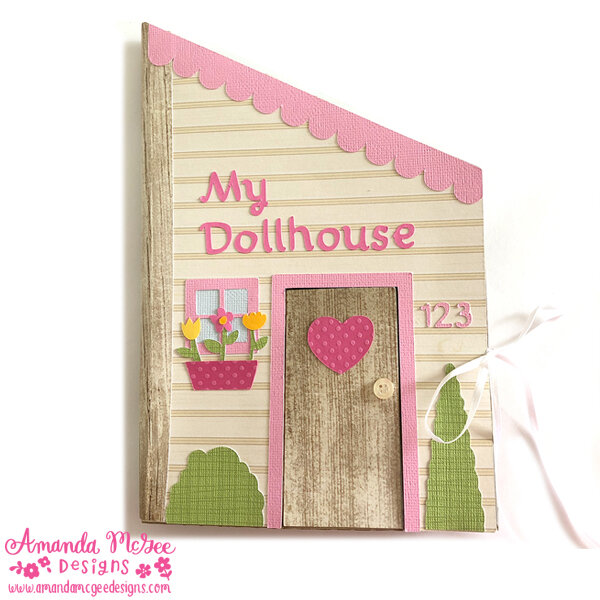
3D Paper Dollhouse Book Instructions
Cut file is available for sale in the Silhouette Online Design Store HERE
To create and assemble this 3D paper dollhouse book you will need the cutting file, cardstock of your choosing, glue, ribbon and a button if desired.

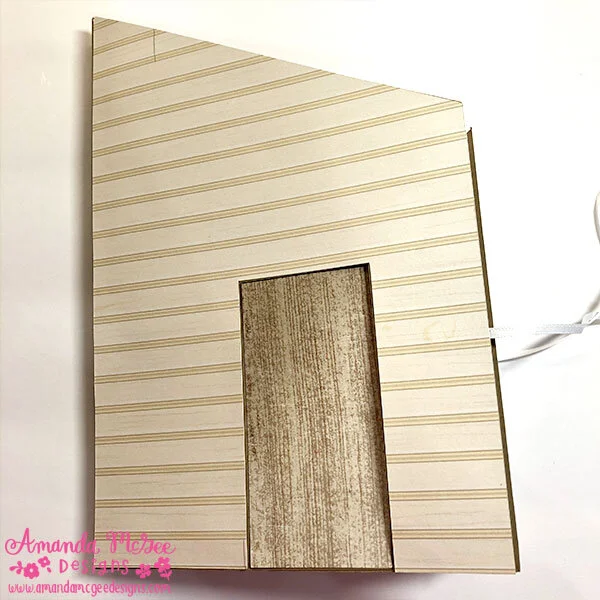
Cut all of your base pieces from cardstock. Be sure to cut one of each piece, but also cut an additional three pieces of the wall section (without the door opening) in both the exterior (light yellow in the cut file) and the interior decorating piece (dark yellow in the cut file.) Also cut three additional pieces of the floor sections that have the full side tabs, as well as four of the interior decorative squares (without the tabs.) To begin, fold the side tab on the first wall as shown. Add glue to the tab.
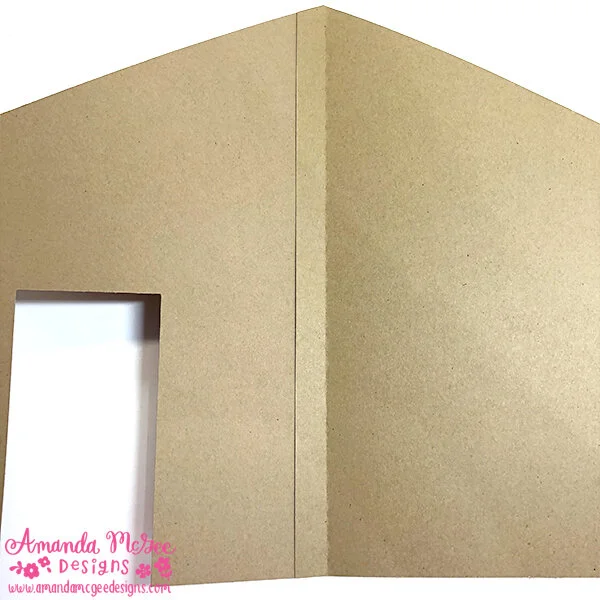
Press down tab to the inside of the front door wall to adhere.

Fold the wall over like a book page and repeat the gluing of the tab and adhering of the next wall. Repeat for the next walls.

The last wall will have the hole for the door opening. Glue and adhere the tab as shown.

For the first floor piece, fold center and side tabs as shown.

Glue tabs and adhere to the front wall as shown.
Fold up the center of the floor and add glue to the tab as shown.

Fold the first wall page over on top of the glued tab and press to adhere.

Repeat for the next two floors. For the last floor, fold tabs as shown. Glue long side tab and adhere to the wall.

Fold up the floor as shown and glue the shorter tabs to the inside of the last wall (with the door.)

The base structure of the 3D Dollhouse Book is now complete. The basic decorating of the dollhouse will follow.
Fold and glue the side tab of the door.

Adhere the door to the inside of the house as shown.

Glue and adhere the door the back wall page as shown.

Glue ribbon to the front and to the back of the book as shown.
Add the decorative cover piece to the front page on top of the ribbon as shown. Add the front door piece as well.

Add decorative paper piece to the inside front wall as shown. Fold and crease the decorative paper floor piece as shown.

After gluing and adhering the decorative paper wall piece, press down and smooth out any creases with a bone folder.

Adhere the floor piece, press and smooth as shown. Fold the floor up to be sure the decorative paper has adhered properly.

Repeat the process with the next walls and floor.

Again, repeat the process for the next walls and floor.

For the last wall, adhere the decorative paper to the inside of the door and smooth down the wall section as shown.

Fold, crease, glue and adhere the last floor section as shown.

Add the decorative cover piece to the back exterior page on top of the ribbon as shown. Add the decorative paper door piece as well.
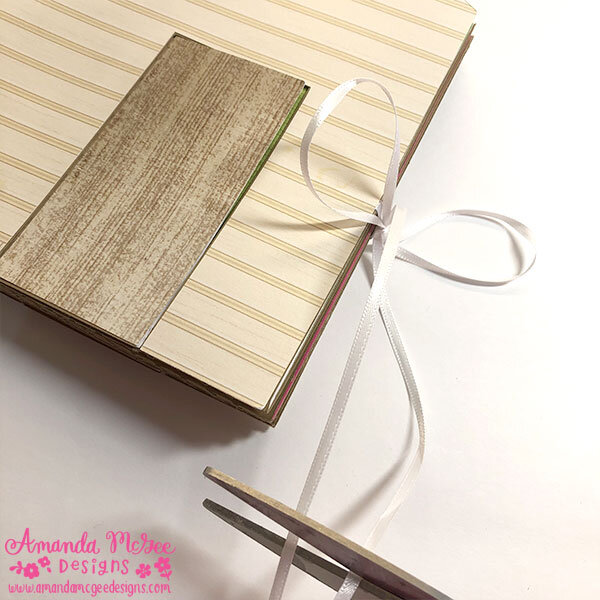
Tie ribbon to close the book and trim as desired.

Curl the book binding edge piece as shown.

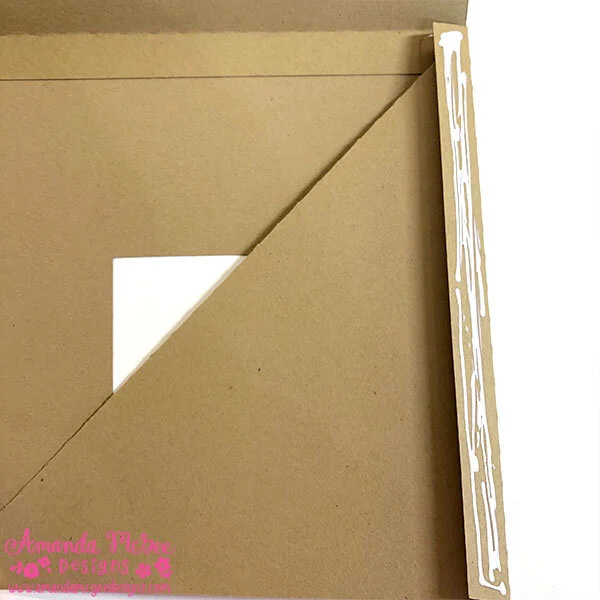
Add glue along the edge of the front of the book. Carefully line up the edge of the book binding along the glue, press down to adhere.

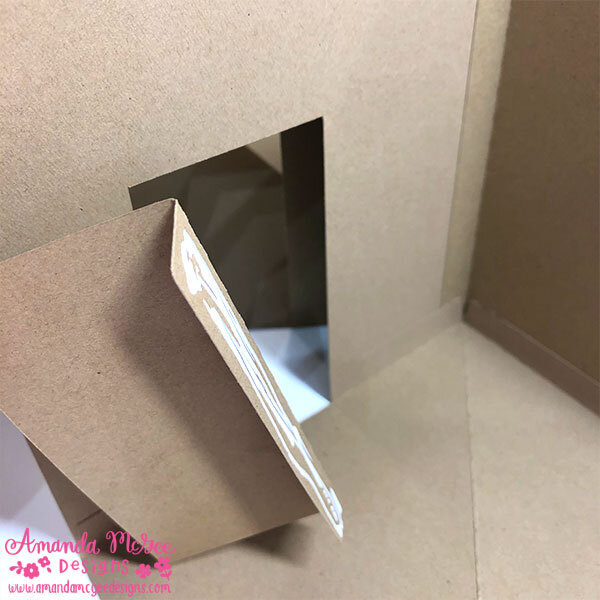
Fold the book over, add glue along the edge of the back side of the book as shown. Add glue along the edge of the inside of the book binding as well. Fold up and press to adhere. Do not glue along the center of the book.

Trim the top of the book binding as shown.

Glue and adhere the door trim and scallop edge trim along the edge of the roofline.

Glue and adhere the window trim to the glass piece and add glue the back side of the window.
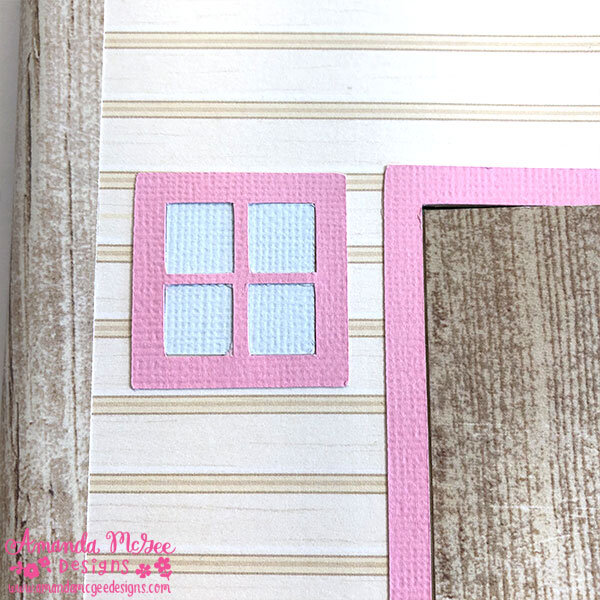
Adhere the window to the front of the house.

Glue flower stems to the reverse side of the window box piece and add glue to the back as shown.

Adhere the window box to the front of the house. Add the flowers to the top of the stems. Glue and adhere the heart to the door, as well as a button for the doorknob (or the cut paper piece.) Adhere the bushes as shown.
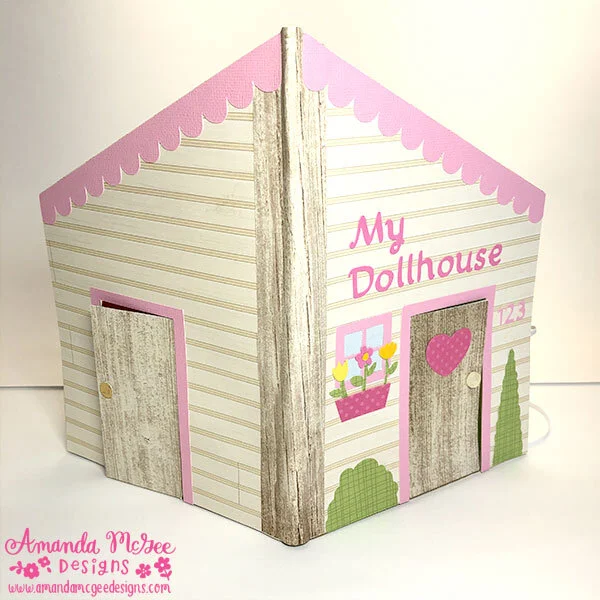
Add some house numbers and the “My Dollhouse” letters or personalize the front of the book as desired. Enjoy and decorate as you wish! I also have printable interior pages, and cut files for creating furniture and other wall decor coming soon.
Happy creating! :)