3D Pinecone Ornament Instructions
This cuttable template makes it easy to create your own pine cone shaped Christmas ornaments out of paper. Digital die cut template is available online in the Silhouette Design Store.

Step 1
Cut all the template pieces from cardstock.

STEP 2
Roll the top hanger piece around a stylus to create the curve. Glue the side tab, overlap the the last petals on each side and adhere. Allow glue to dry.

STEP 3
Curve strap and add glue to the end. Tuck inside the top and allow glue to dry.

STEP 4
Curve up the ends of the hanger, add glue to the underneath side (as shown.) Attach to the top pinecone petal layer, set aside and allow glue to dry.

STEP 5
Bend up the petals and pinch in the sides to create dimension to the pine cone. Repeat for all layers. Place a foam square in the center of each pinecone petal layer (except the 4 petal and 3 petal layers.)

STEP 6
Attach each petal layer by stacking one layer on top of the next, turning each to offset the petals. (Don’t line them up.)
STEP 7
Once you get to the 4 petal layer, add glue to the center and attach each layer.

STEP 8
Repeat with the 3 petal layers (add glue to the center and attach each layer.) For the last layer, pinch the petals closely together to close. Place on top and allow the glue to dry.

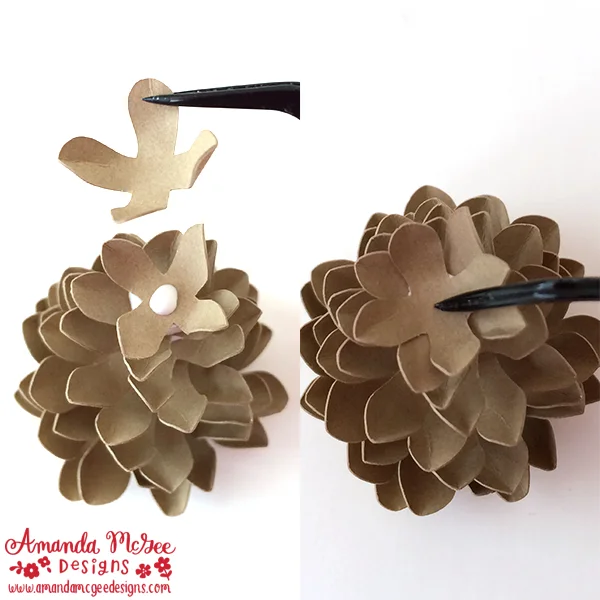
STEP 9
Adhere the hanger to the top of the pine cone with a foam adhesive square. Bend and pinch the petals as needed to create more depth.

STEP 10
The thicker the foam squares, the taller the pine cone. This example shows the difference of using foam squares, 3D dot adhesive, and sticky dots. You might prefer a shorter pine cone for making embellishments, an accent for a gift package or assemble many of them together to create a decorative wreath. So many possibilities and ideas.

STEP 11
Enjoy your holiday crafting!
:) Amanda