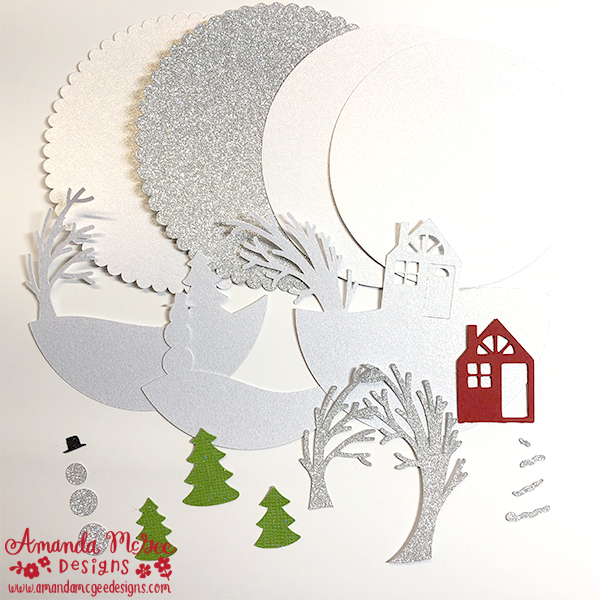
3D Winter House Scene Instructions
Digital die cut template for this winter scene ornament is available for sale in the Silhouette Online Design Store HERE.
To complete this project you will also need glue, adhesive foam squares, one half of a clear plastic ornament size 80mm, fake snow or glitter, ribbon or bakers twine and glitter glue. A washer or small coin and some tape is also recommended.
Step 1
Cut all template pieces. Cut two of the scallop edge base piece. Glitter cardstock makes for a magically sparkly ornament!
STEP 2
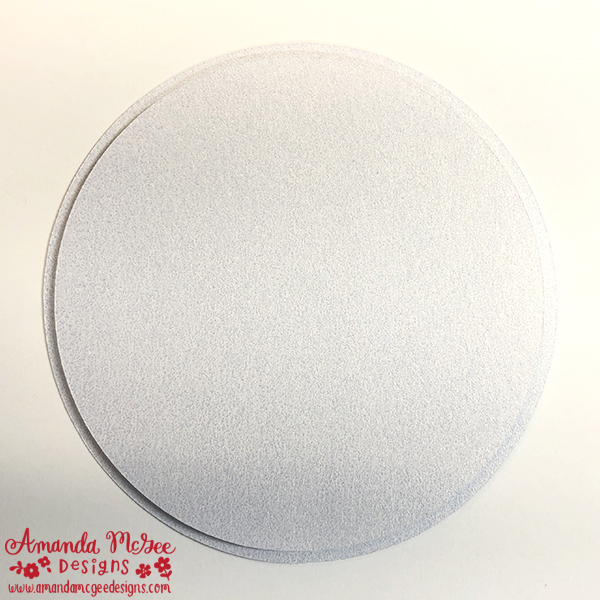
Adhere the smaller circle to the larger circle background. Use a pattern paper if desired. Use dimensional foam squares for added dimension.

STEP 3
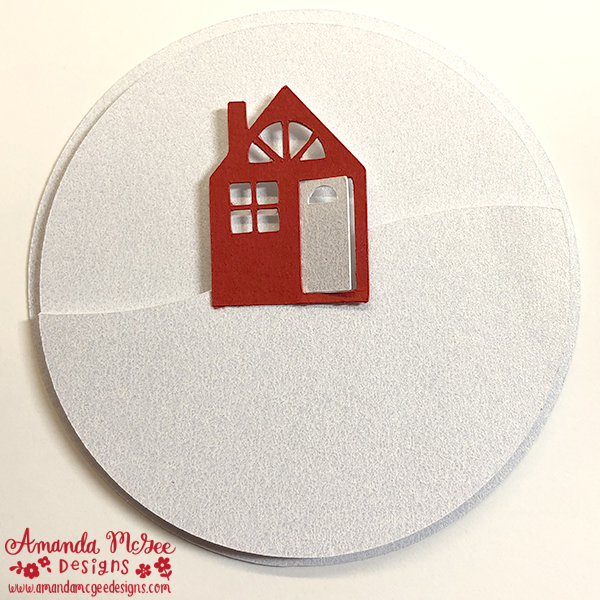
Glue and adhere the house shape to the house layer. Add a contrasting door if desired.
STEP 4
Adhere the house layer to the base layer with foam squares for dimension.

STEP 5
Glue the trees behind the house layer where desired.

STEP 6
Glue trees and snow accents to the middle layer.

STEP 7
Adhere middle layer to the house layer with adhesive foam squares.
STEP 8
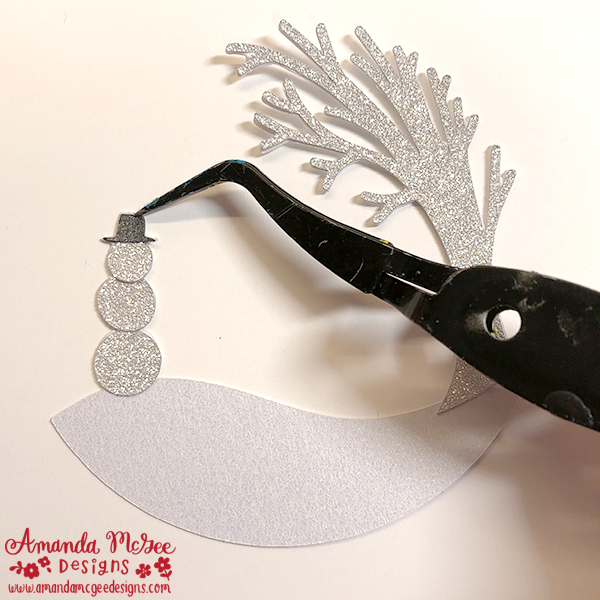
Glue and attach tree, snowballs, and snowman hat pieces to the top layer.

STEP 9
Adhere top layer to the middle layer with adhesive foam squares.

STEP 10
Adhere all layers to the base scallop layer. Add glitter glue accents if desired.

STEP 11
Add some glittery fake snow to the inside of the ornament. Add glue to the top edge.

STEP 12
Carefully place the paper scene onto the top of the ornament, adjust to fit before the glue dries.

STEP 13
Add glitter glue around the outside of the ornament to ensure that it adheres to the paper base, as well as adding a sparkly accent.

STEP 14
Tie ribbon or bakers twine to the ornament to hang. If the ornament hangs lopsided to the front, add a small washer or coin to the back. Glue a second scallop base to the back. This should help counterweight the ornament.

STEP 15
After the glue has dried, the snowy winter scene ornament is ready to decorate your tree!
Happy creating and happy holidays to you and yours!
Amanda