Gnome Sewing Pattern Instructions

Instructions for how to create and assemble this gnome by cutting the fabric with your Silhouette machine (or by hand!) and the digital cutting template. Available online to purchase in the Silhouette Design Store SOON.

Sew together the two oval shapes, leaving an opening for turning.

Trim the edges with pinking shears, or clip around the edges to trim away excess fabric.

Turn inside out and fill with plastic beads, sand, or other heavy material. This will fit inside the base of the gnome to give it some weight to help it sit and stay upright.
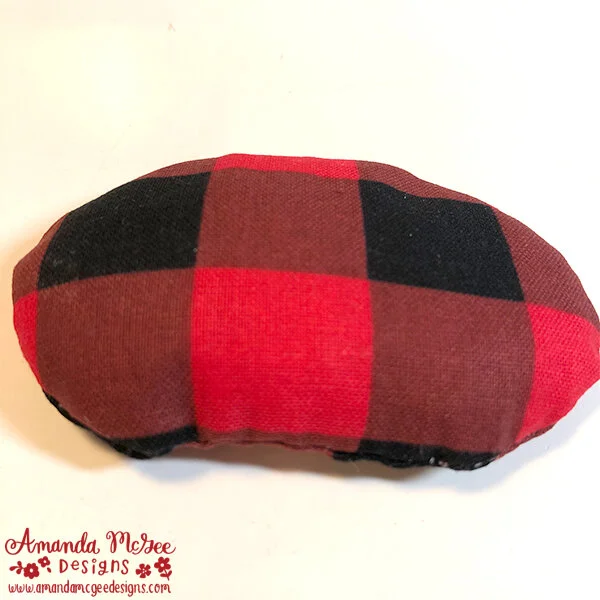
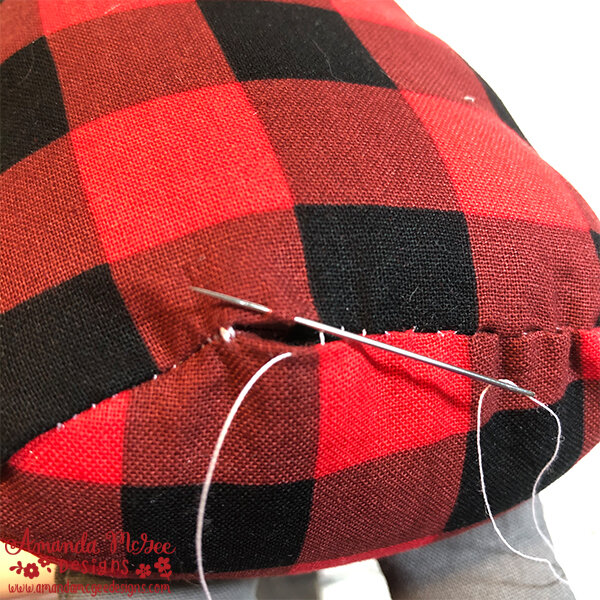
Close the bean bag with a slipstitch.

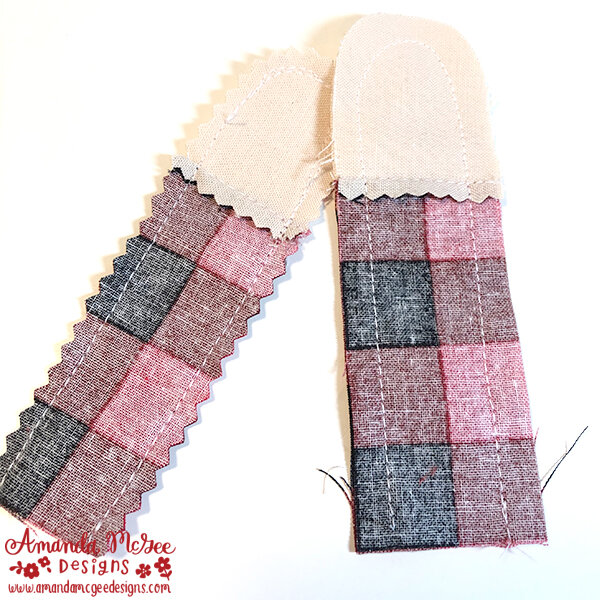
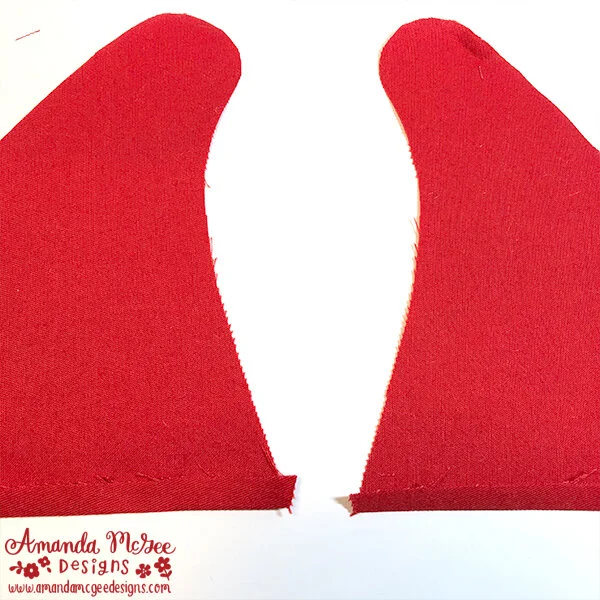
Stitch around the curve of the body pieces with a 1/4” seam, leaving the bottom edge open. Trim or clip the edges.

Stitch around the curve of the feet pieces with a 1/4” seam, leaving the bottom edge open. Trim or clip the edges. (Please note the notches are missing in these pieces.)

Turn the feet right side out and add stuff them with polyfill. Match the notches (missing here on the feet) and pin to the body base and stitch close to the edge as shown.

With right sides together, pin the base to the bottom of the body. Line the side notches to the side seams and adjust as necessary. Keep an opening for turning.

Turn the body right side out and stuff with polyfill. Add the bean bag to the inside bottom of the body .
Close the opening of the body with a slipstitch.

Align the notches on the hands to the arm pieces and sew right sides together. Iron flat and trim.
Sew around the hand/arms with right sides together. Trim to edge. Turn right side out and fill with polyfill.
For the hat, if you’re using felt or another fabric that doesn’t need hemming, you can skip this step! If you’re using a fabric that will fray, you will want to hem the edge of the hat. Fold up 1/4” to the inside of the hat and press with an iron.
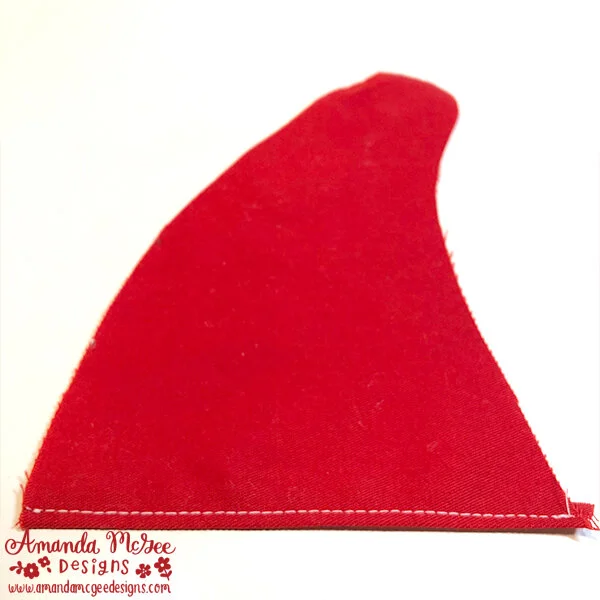
Sew a top stitch hem very close to the edge on each side of the hat.

Sew both sides of the hat together, leaving the bottom hemmed edge open.

Turn the hat right side out.

Cut the beard piece using the template as a guide, trim as needed. Pin the beard and arms in place at the top of the body as shown.
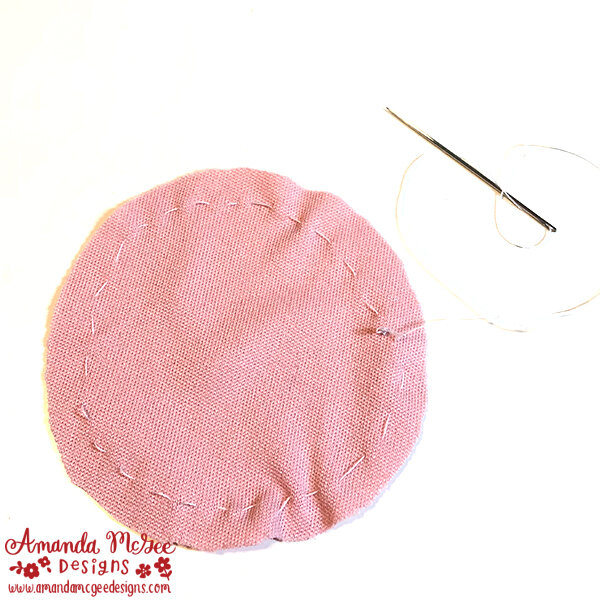
Stitch around the nose piece as shown.
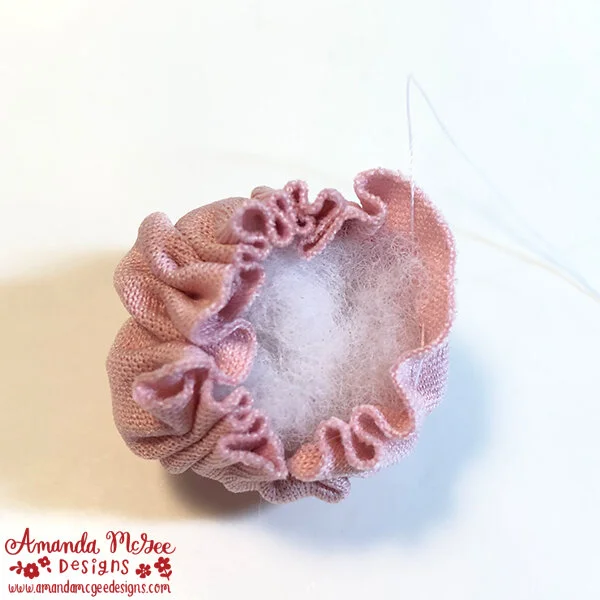
Fill the nose with fiberfill and pull the stitch tight to close.
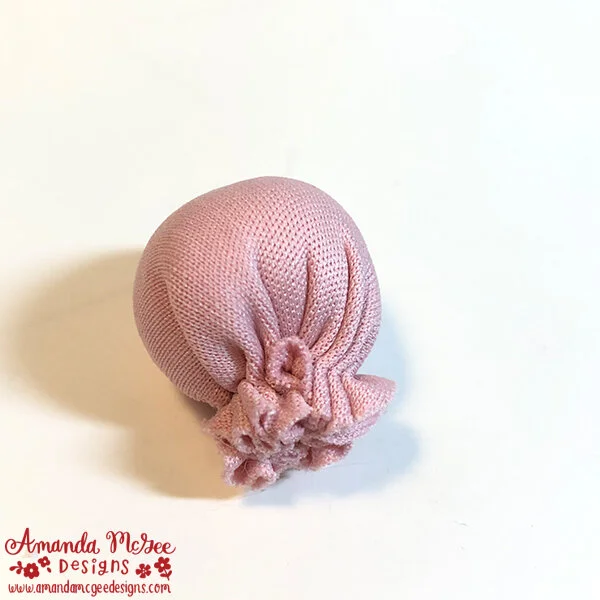
Stitch and knot to complete the nose. Carefully trim excess fabric if needed.

Pin the nose to the gnome where desired.

Place the hat on top and then make adjustments as needed.
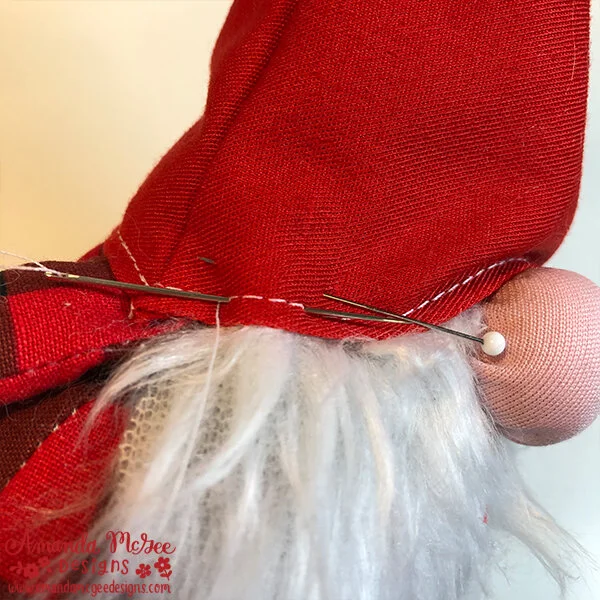
Hand tack the hat, arms and nose and beard onto the gnome body. Don’t forget to remove the pins as you hand sew!

Your gnome is ready for some mischief!


You can try different combinations of fabric and faux fur to achieve a different look. This one has more of a magical wizard feel rather than a lumberjack! Customize as you wish, enjoy and happy crafting! :)