Jack O’ Lantern Pumpkin Sewing Pattern Instructions

Instructions for how to create and assemble this cute jack-o-lantern pumpkin by cutting the fabric with your Silhouette machine and the digital cutting template. Available soon online to purchase in the Silhouette Design Store.
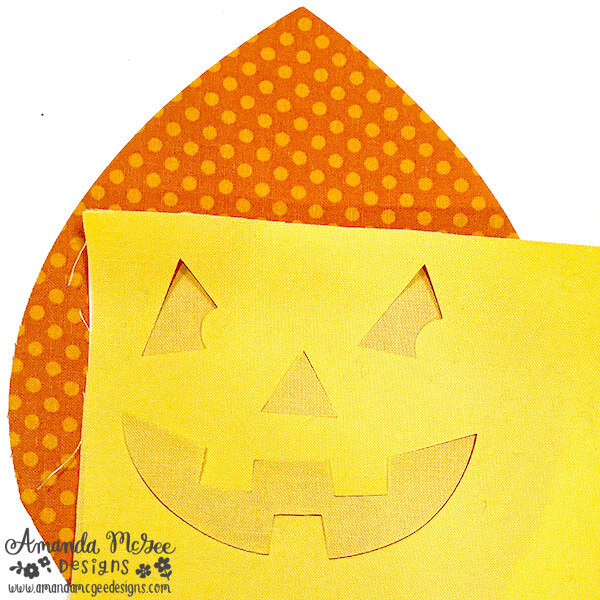
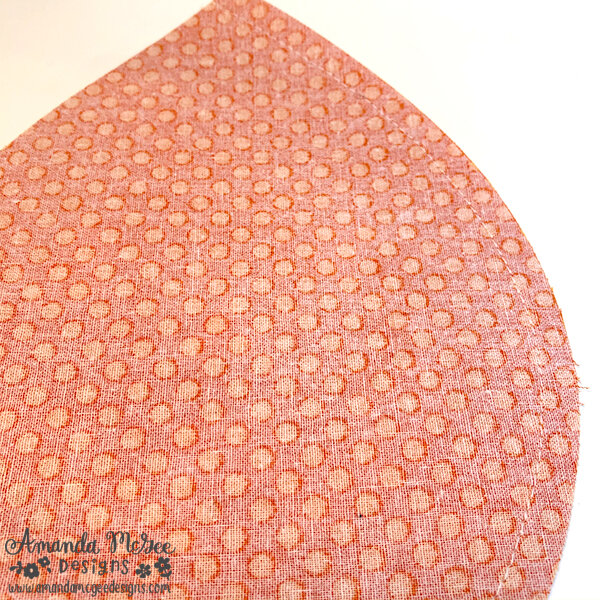
Begin by cutting 5 of the pumpkin shapes in the fabric of your choice. I recommend using woven cotton, fat quilt quarters make a great choice! Iron on double sided adhesive (I used Heat and Bond Ultra Hold) to the reverse side of the Jack O’Lantern face fabric. Cut the face on pieces with your Silhouette machine. Remove the paper backing from the face pieces and carefully align the face pieces in the center of one of the pumpkin shape pieces. I use the negative space as a placement guide. Carefully remove the guide and iron on the face pieces to the pumpkin shape according to the manufacturers directions.
Pin together two sections, lining up the seams at the top. Sew the two pumpkin pieces together on one side. I have used a seam allowance of about 1/4” (about the width of my presser foot.)
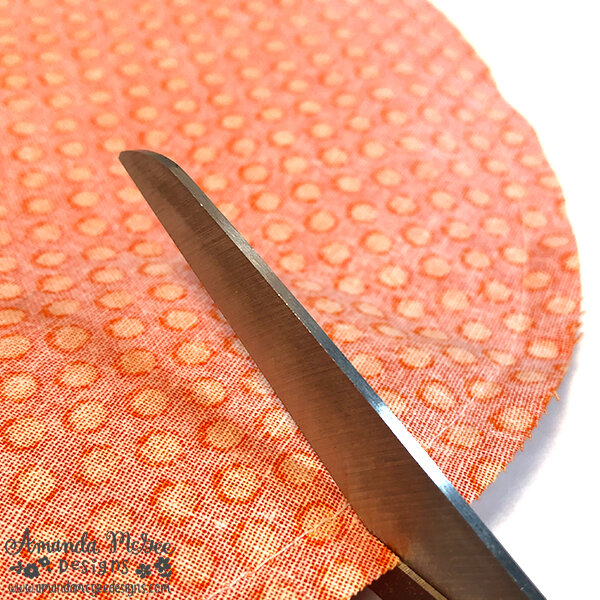
Carefully clip the curved edges.

Pin another pumpkin piece to the first two pieces as shown. Sew along the edge and clip as previously shown.

Pin the remaining two sections to the pumpkin as shown. Be sure to plan ahead and leave an opening on the back side (preferably not next to the Jack O Lantern face) for turning the pumpkin inside out. Sew each remaining side and end the seams at the bottom, sewing a stitch over the other seam next to it. Be sure to back tack to finish the seams.

Sew along the last edge leaving an opening (as shown) for turning the pumpkin inside out.

Turn the pumpkin inside out as shown. Stuff the pumpkin full and tight with fiberfill.
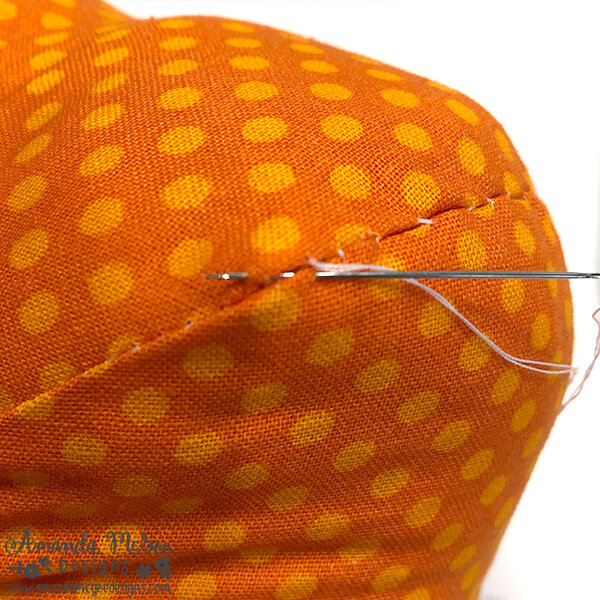
Slipstitch the opening to close the pumpkin.

Thread embroidery floss onto a needle. Knot the end and stitch in the center of the bottom of the pumpkin as shown.

Wrap the embroidery floss around the pumpkin and pull taught to the other side. Stitch into the adjacent pumpkin panel and pull through. Keep the embroidery floss taught to create the shape of the pumpkin. Repeat for each panel except for the panel with the Jack O’Lantern face. (See below)

Wrap the embroidery floss around the center of the outside of the pumpkin panel with the Jack O’ Lantern face and take a stitch under the nose piece.
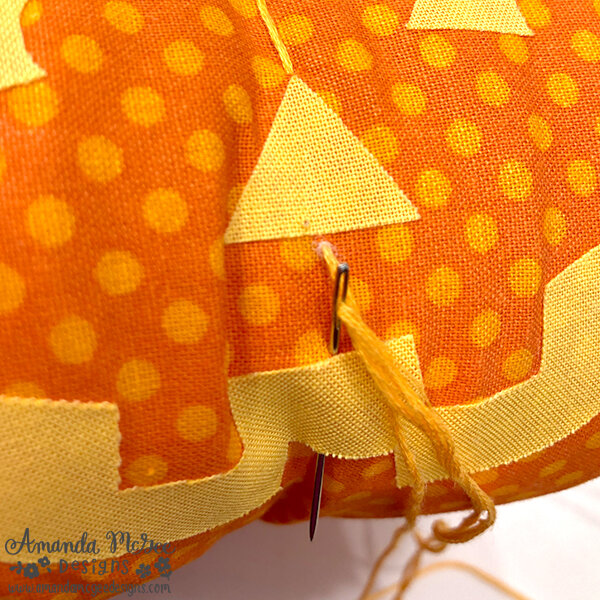
Pull the embroidery floss out from under the nose piece and stitch through and under the mouth piece. Wrap the floss to the bottom of the pumpkin. Pull taught and knot to finish. Trim away excess floss.

Sew around the stem shape, leaving the bottom edge open for turning. Clip the curved edges and turn inside out. Push the edges with a craft stick if needed.

Stuff the stem and slipstitch the opening.

Attach the stem by hand stitching it to the pumpkin where desired.

I’ve placed mine on top of a candle stick for a fun display. Try making the Jack O’Lantern pumpkin in various sizes, this would make a great pumpkin patch for Halloween decor!
Happy Halloween! Enjoy and make it fun!