Pumpkin Squash Sewing Pattern Instructions
Instructions for how to create and assemble this cute pumpkin by cutting the fabric with your Silhouette machine and the digital cutting template. Available online to purchase in the Silhouette Design Store HERE.
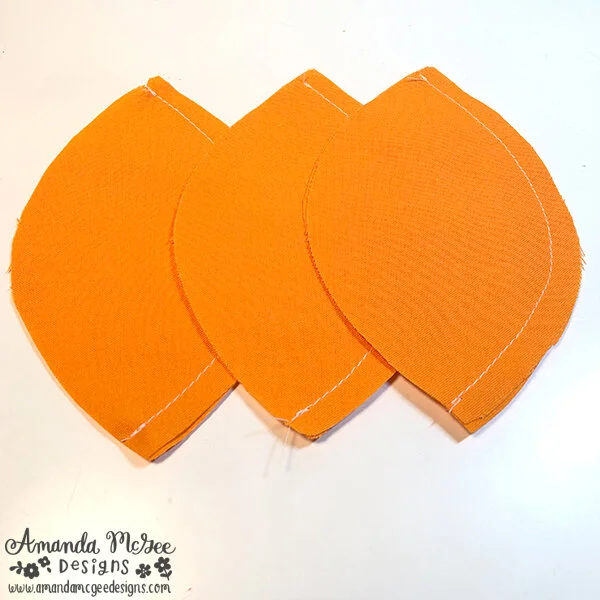
Begin by cutting 6 of the pumpkin shapes in the fabric of your choice. I recommend using woven cotton, fat quilt quarters make a great choice!
Sew two pumpkin pieces together on one side, repeat for the other pieces to create three sections as shown. I have used a seam allowance of about 1/4” (about the width of my presser foot.)

Pin together two sections, lining up the seams at the top. Sew along the side.
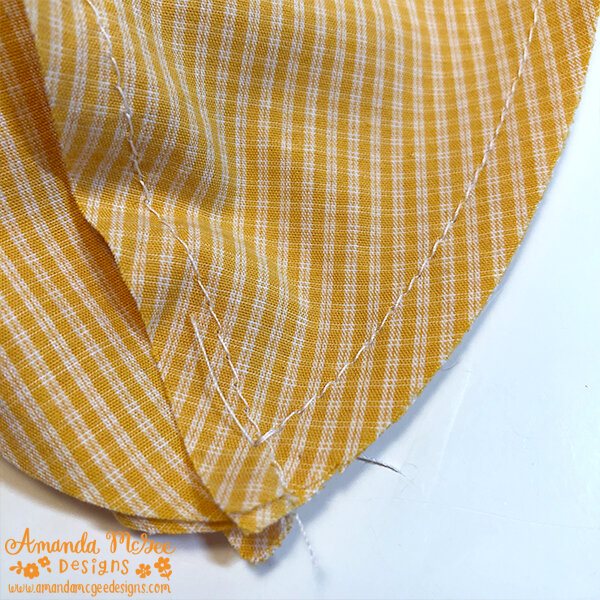
End the seam at the bottom, sewing a stitch over the other seam as shown. Be sure to back tack to finish the seam.

Open up and pin on the last section as shown. Sew along the edge as before.
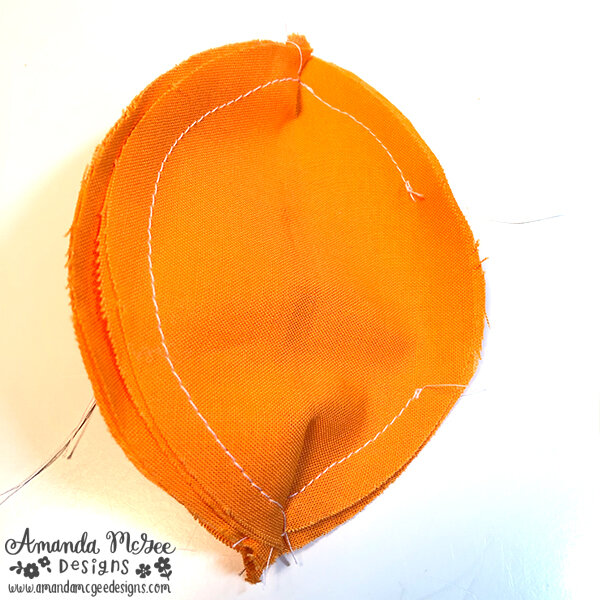
Sew along the last edge leaving an opening (as shown) for turning the pumpkin inside out.
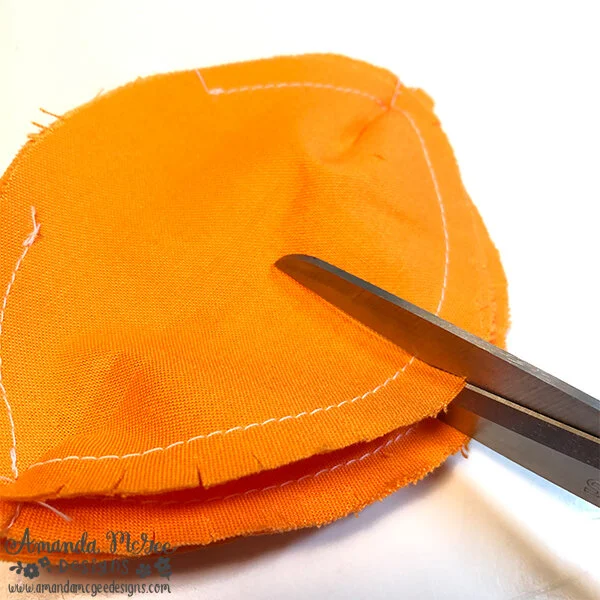
Carefully clip the curved edges as shown.

Turn the pumpkin inside out as shown.

Stuff the pumpkin with fiberfill.
Slipstitch the opening to close the pumpkin.

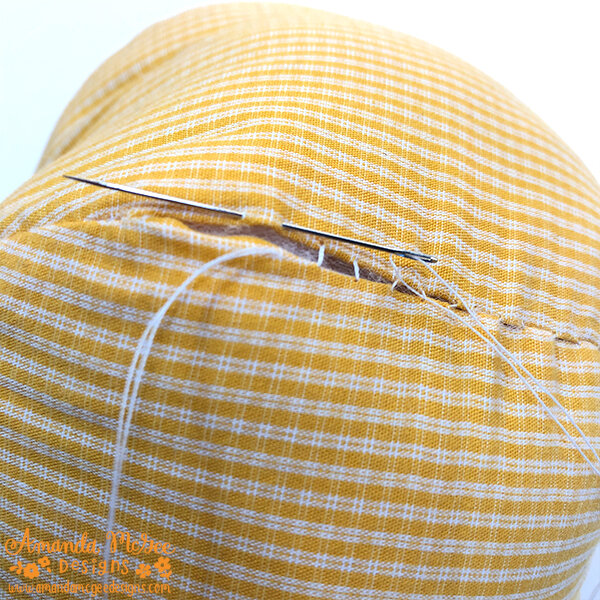
Thread embroidery floss onto a very long dollmaker’s needle.

Starting from the center on one side of the pumpkin, thread the needle all the way through the middle and pull the floss out the other side.
TIP: If you don’t have a long needle, you might want to use less stuffing. Squeeze the ends of the pumpkin together to get the needle to go all the way through the pumpkin with the embroidery floss.

Wrap the embroidery floss around the outside of the pumpkin and push the needle back through the center and tighten as desired to create the shape of the pumpkin.
Repeat this process for each section of the pumpkin.

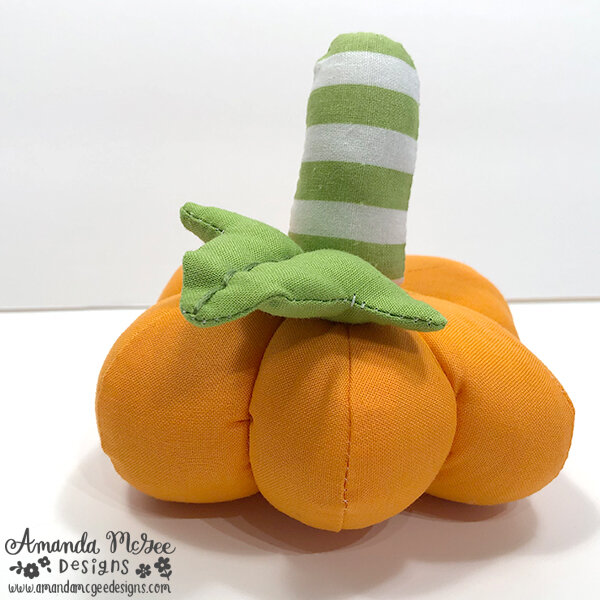
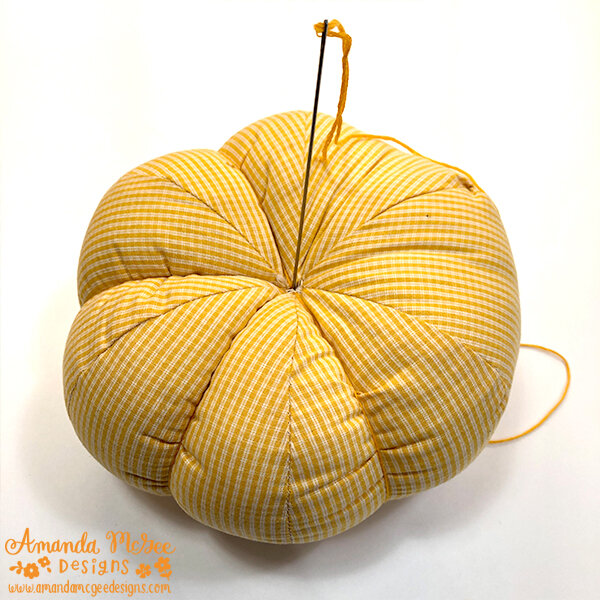
Knot the embroidery floss in the center to finish. At this point, you could glue a stick, cinnamon sticks, or a real pumpkin stem in the center for the stem if you wish. Follow along for how to sew the stem and leaf from the sewing pattern.
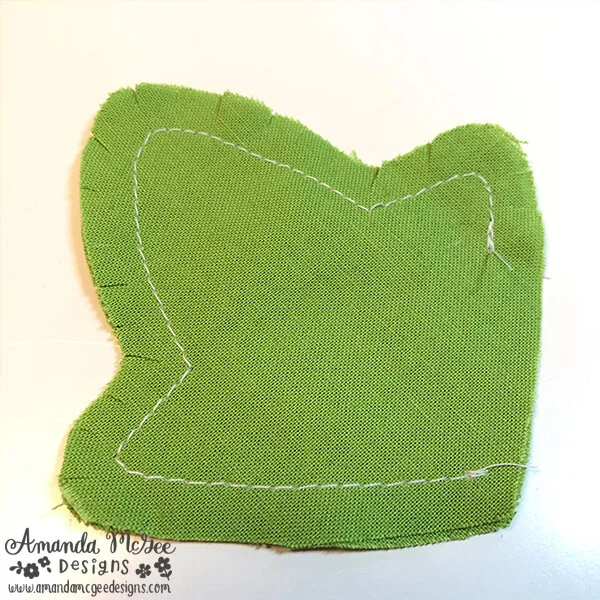
Sew along the edge of the leaf, leaving an opening for turning as shown. Carefully clip along the curved edges. Turn leaf inside out and push corners with a craft stick if needed. Stuff lightly with fiberfill. Slipstitch the opening to close the leaf shape.
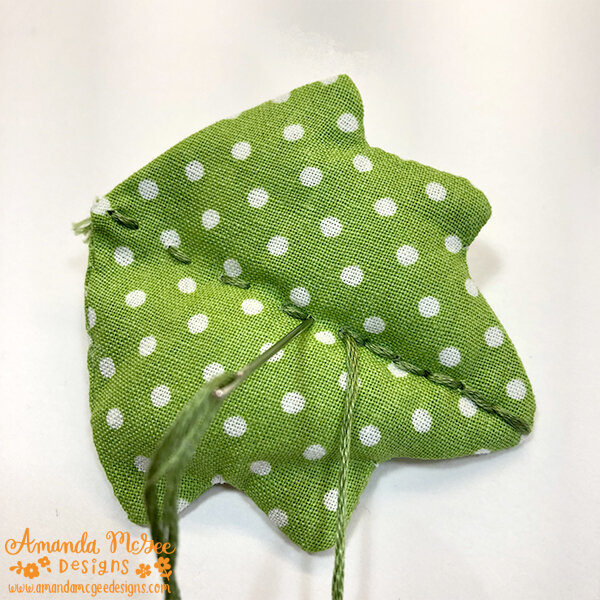
Stitch down the middle of the leaf with embroidery floss.

Stitch around the stem shape and clip curved edges.

Turn the stem inside out and push out edges with a craft stick as shown.

Stuff the stem and slipstitch the opening.

Attach the stem by hand stitching it to the pumpkin where desired.

Attach the leaf by hand stitching where desired.

Try making the pumpkin squash in varying sizes and with different types of fabrics. You could cut the pattern from paper to create a template for using different types of fabrics that can’t be cut with the silhouette machine (such as sweater knits.) This would make a great pumpkin patch for fall decor!
Enjoy and make it fun!