Tiny Witch Hat Pattern Instructions

Instructions for how to create and assemble this tiny witch hat by cutting the felt with your Silhouette machine and the digital cutting template. (Cut with felt on the Silhouette Cameo 4 using a deep cut blade with craft foam settings.) Available soon online to purchase in the Silhouette Design Store.
Begin by cutting felt pieces with your Silhouette Cameo machine. I’m using my new Cameo 4 with a deep cut blade and adapter with the craft foam settings. I recommend using the craft felt that is a little stiff, 2mm or less, and comes in 9x12 or 12x18 sheets sold at Hobby Lobby.
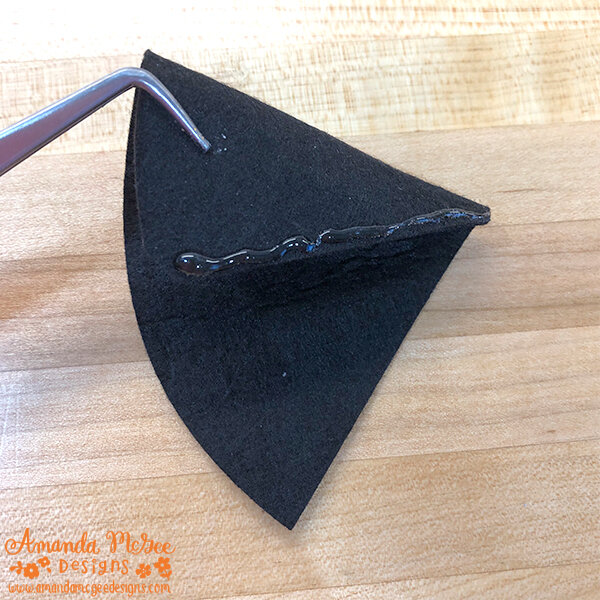
Add hot glue along the edge of the center hat piece.

Wrap center hat piece around until the unglued side overlaps the glued edge. Press and hold until dry.

Glue the bottom edge of the hat center.

Place glued hat center in the middle of the hat brim. Gently press down and allow glue to dry.

Slide the buckle piece onto the band as shown. Add glue to the edge of the end of the band. Wrap the band around until the unglued side overlaps the glued edge. Press and hold until dry.

Slide band onto the hat.

Glue the backside of the moon and the star and attach to the front of the witch hat. You could glue the witch hat to a headband for a quick and easy costume accessory. You could even make several witch hats and hang them for Halloween decor!
Happy Halloween! Enjoy and make it fun!