3D Fun Flower 2 Instructions
The cut file for this design is available for sale in the Silhouette Online Store HERE.

Step 1
Using a stylus or other tool (a tapered end of a paintbrush or pencil) curl in and up the edges of each petal as shown.

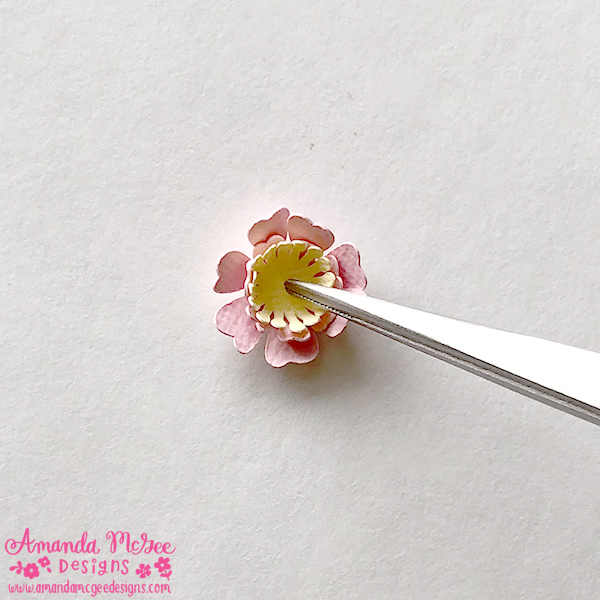
STEP 2
Add a dot of glue to the center of the smallest petal layer. Using a tweezers or other tool if needed, place the stamen into the center of the first petal layer.
STEP 3
Add a dot of glue in the center of the next petal layer, place the center on top. Presss down to adhere. Repeat this process with each layer.
STEP 4
Place the center onto the glued center of the next largest layer. Press to adhere.

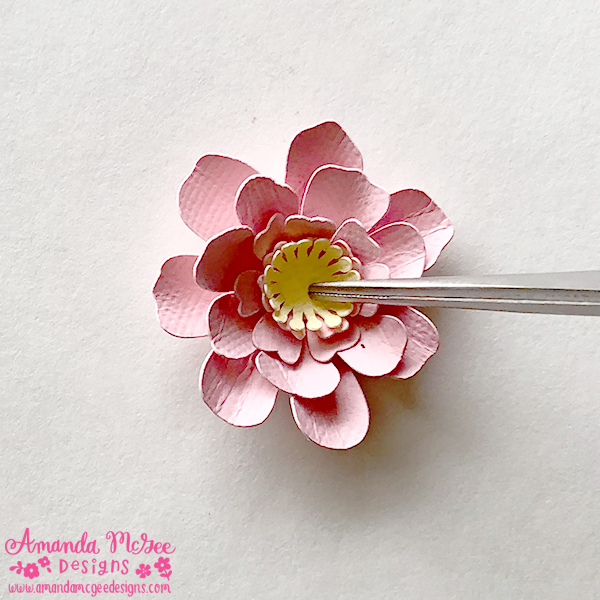
STEP 5
Keep placing the center onto the glued center of the next largest layer. Press to adhere.

STEP 6
Once you have glued the last layer, be sure to press the center firmly to adhere all the layers together. Allow the glue to dry.

STEP 7
To complete the flower, bend and adjust each layer as needed to increase fullness for desired effect.