3D Fun Flower 3 Instructions
The cut file for this design is available for sale in the Silhouette Online Store HERE

Step 1
Using a stylus or other tool, curl up the edges of each petal as shown.

STEP 2
Add glue along the inside edge of the center stamen piece.

STEP 3
Roll up center stamen piece and pinch to adhere and allow glue to dry.

STEP 4
Put a dot of glue in the center of the smallest petal layer.

STEP 5
Place center stamen into the center of the small petal layer. Set aside and allow the glue to dry.

STEP 6
Add dot of glue to the center of the third petal layer. Place the second petal layer on top.

STEP 7
Place those two layers on to the next layer. Repeat this process with each petal layer.

STEP 8
Be sure to press down the center of the flower each time another layer is added.
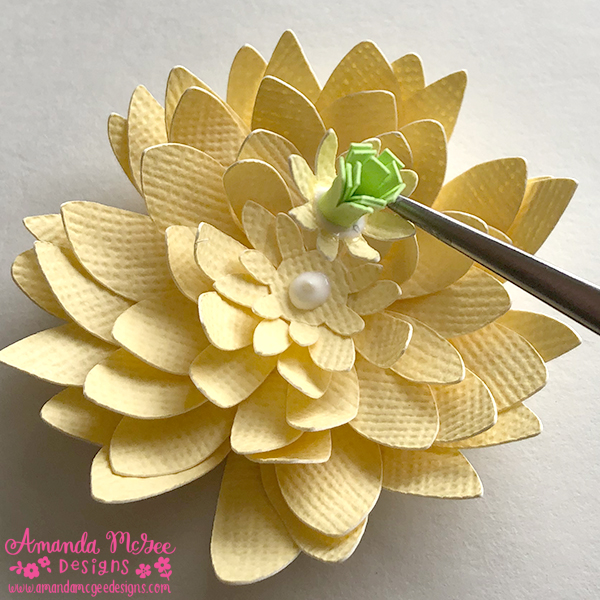
STEP 9
Add glue to the center top of the flower and place the stamen on top.
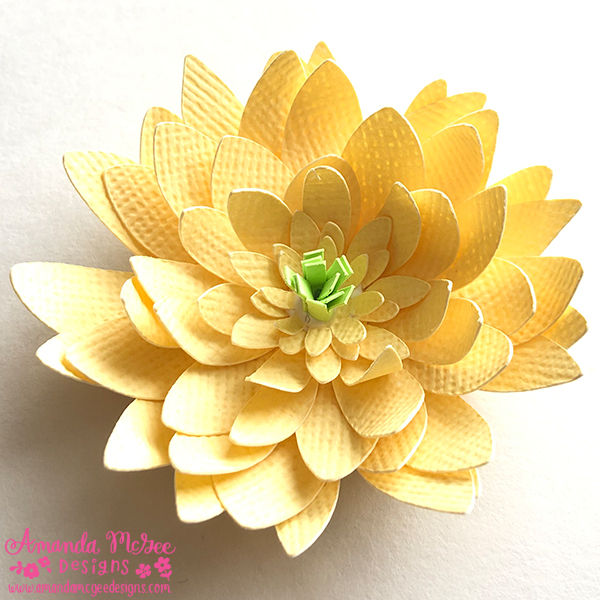
STEP 10
To finish the flower, adjust the petals as desired. For a different looking flower, try curling the petals down rather than up.