3D Haunted House Luminary Instructions
Available for sale in the Silhouette Online Store HERE


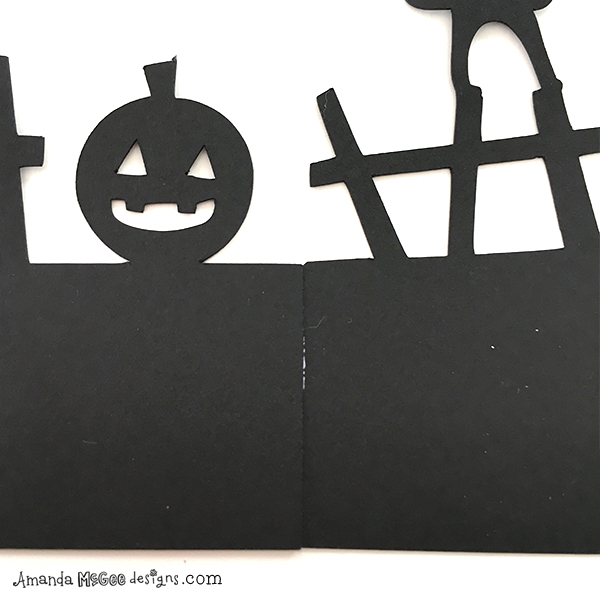
Step 1
Begin by cutting the house template pieces from cardstock, and window pieces from vellum. Be sure to keep the broken board pieces from the roof section.

STEP 2
Glue vellum over all window sections on the inside of the house. There should be one piece remaining, that will be used in the next step. Allow the glue to dry before moving on.

STEP 3
Fold open the door and glue vellum on the inside of the door opening. Do not glue to the bottom flap. Allow glue to dry before moving on to the next step.

STEP 4
Glue broken board pieces over the windows on the outside of the house.

STEP 5
Fold up tabs on the base. Glue together base side strips.
STEP 6
Glue border base pieces together, set aside to dry.

STEP 7
Glue base tabs and adhere to the base side strip. Press tabs from the inside to adhere.

STEP 8
Continue to wrap the side strip around the base and glue together to complete. Set aside to dry.

STEP 9
Fold perforated edges as shown. Glue side tab and adhere to the opposite side to form the house.

STEP 10
Glue the roof side tabs and adhere to form the roof top. Bend the fence tops as desired.

STEP 11
Fold in the bottom tabs and set the house upright.

STEP 12
Glue the border around the base.

STEP 13
Wrap and glue the ends of the border together and adhere to the base. Allow glue to dry.

STEP 14
Place a battery operated candle or LED light underneath the base. Glue the bottom tabs of the house and adhere to the base.

TIP:
Remote controlled LED lights are much brighter and work great for this type of project. They can be found on Amazon.

Tip:
Different colored lights and different view points create different effects!

TIP:
This haunted house luminary was design to fit underneath a glass dome from Ikea! It makes for a fun and spooky Halloween display. Enjoy!