Birthday Cupcake Gift Card Instructions

Instructions for making a happy birthday cupcake shaped gift card holder. Digital die cutting template will soon be available for sale online in the Silhouette Design Store.

Cut all pieces from desired cardstock or paper. Glitter paper makes a fun choice for the frosting layer.

Add glue to the reverse side of the frosting layer. I recommend a fine point glue pen to get in between all the letters.

Place the frosting layer on the card holder layer to adhere. Set aside and allow glue to dry.
Fold in the side tabs of the cupcake holder piece. Add glue to the side tabs. Fold up to adhere.

Clamp sides with binder clips and allow glue to dry.

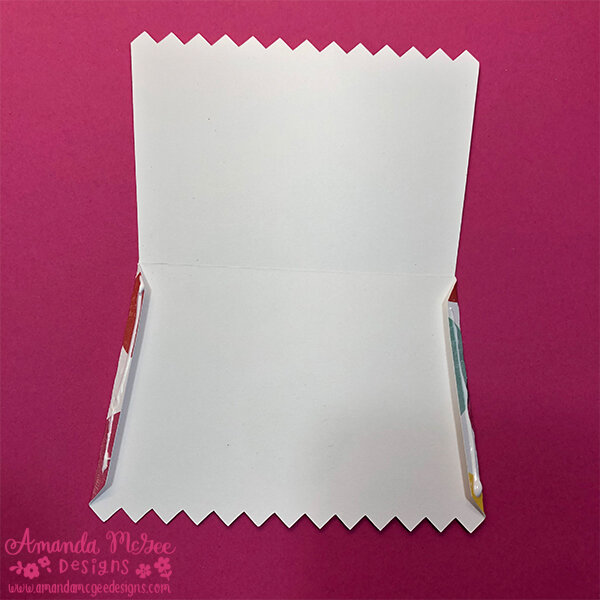
Place a gift card in the slots as shown.

Slide the gift card holder into the cupcake wrapper pocket. This gift card holder will fit in an A6 size envelope. (I do have a digital die cut template for that as well!) Give it away as a birthday present!
Enjoy and happy making!